Getting set up
Before you're able to start coding there are a handful of steps you first need to go through. This tutorial starts by walking through how to setup a Discord bot account and use a slash command, running on Replit.
Creating a Discord bot
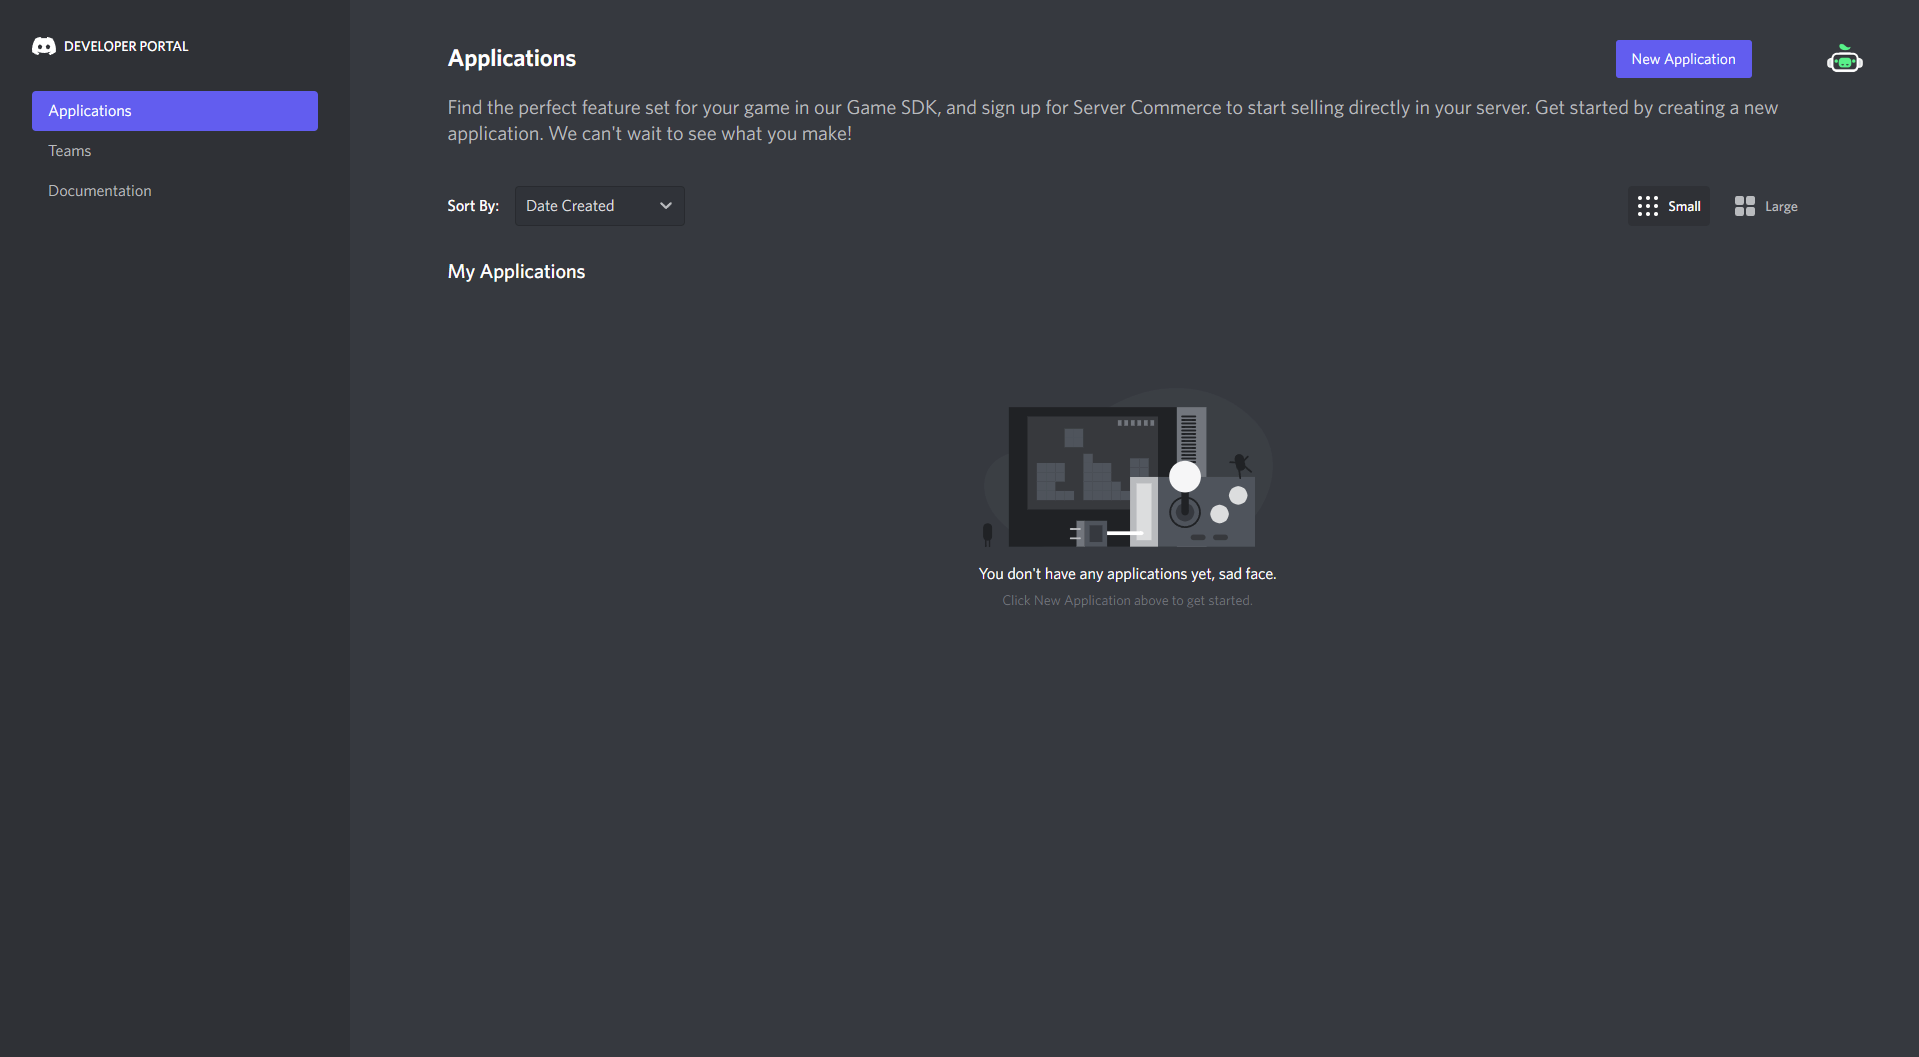
Start by navigating to the Discord Developer Portal. Assuming you have not created an application before, it should look like this:
Next, click the "New Application" button in the top right and enter the name you wish to call your application:

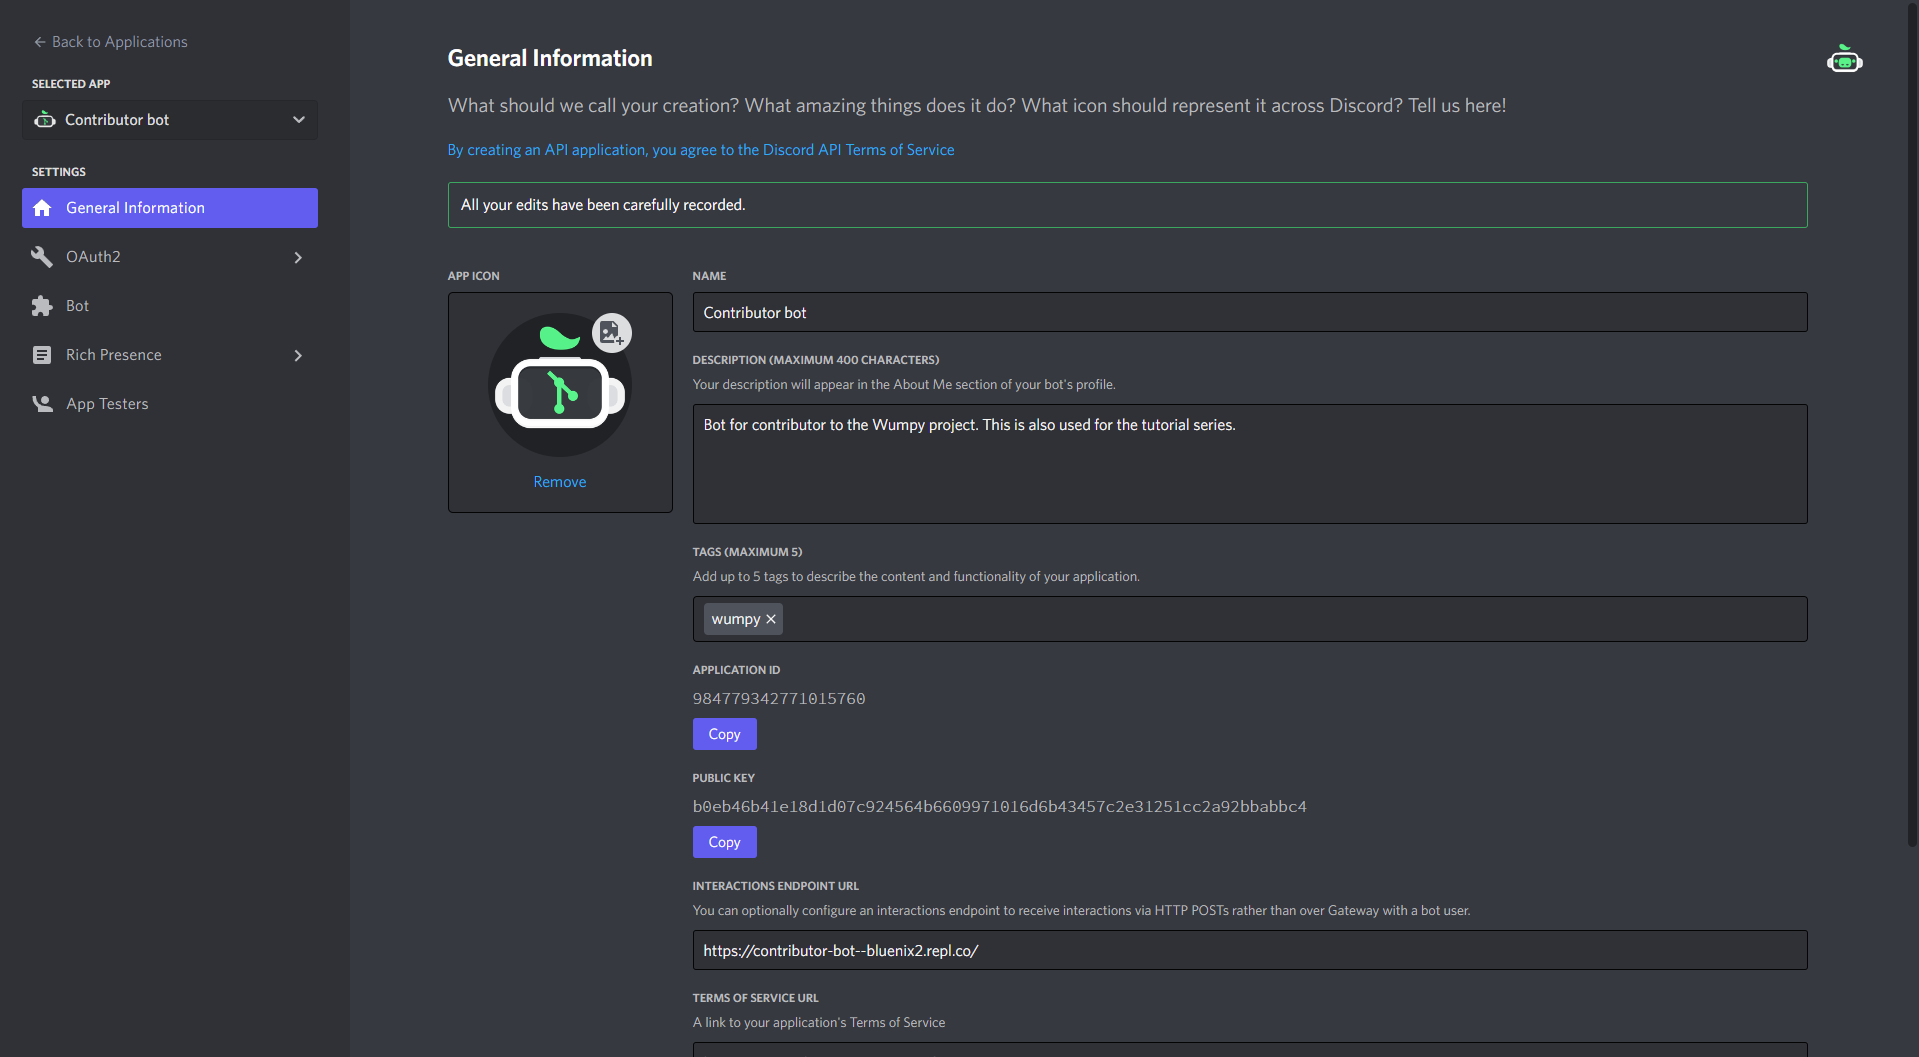
When you have decided on a name, click "Create" and you should see an overview of your application. Consider filling in a description, giving your application a profile picture, and specifying some tags:
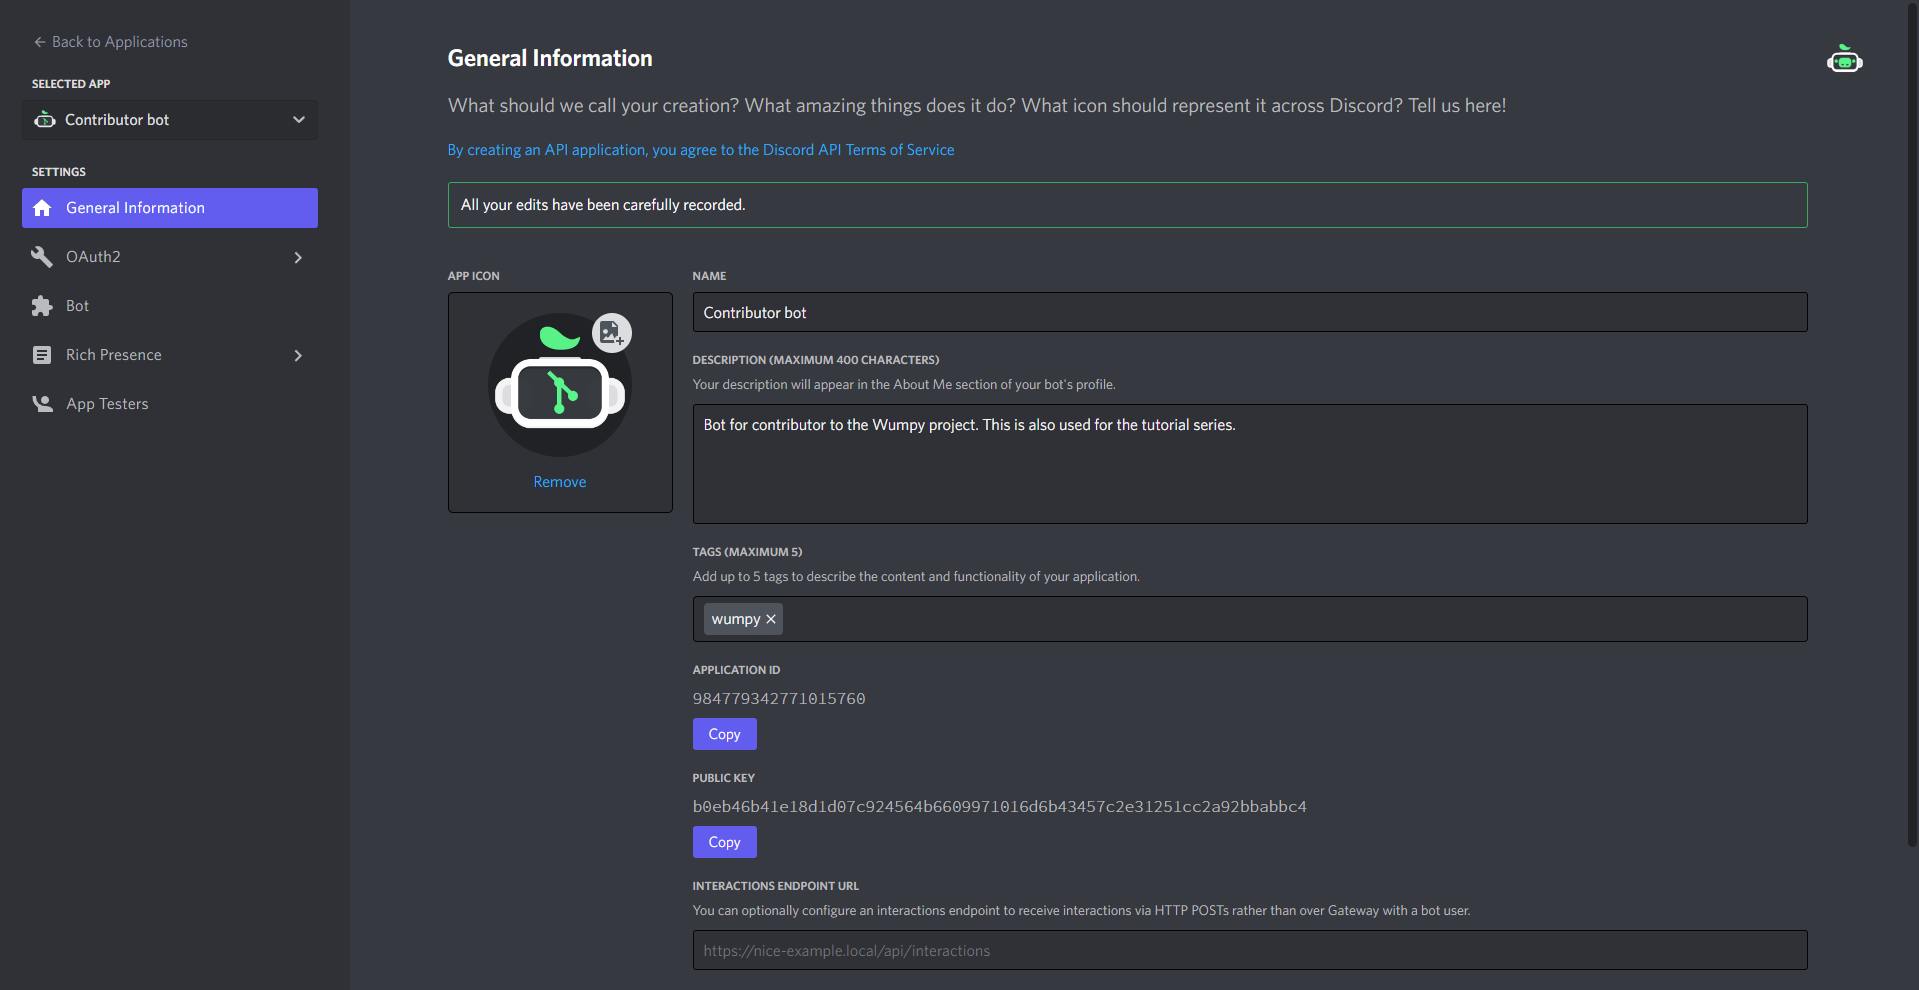
From this page, copy the Application ID and Public Key for later. You will need these later when coding your bot.
Currently your application doesn't have any bot account associated with it. To change that go to the Bot tab and click "Add Bot":
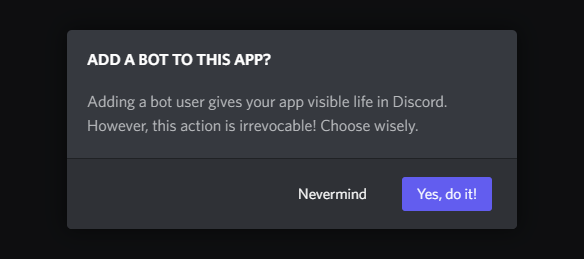
Click "Yes, do it!" to confirm, you should then see the following page:
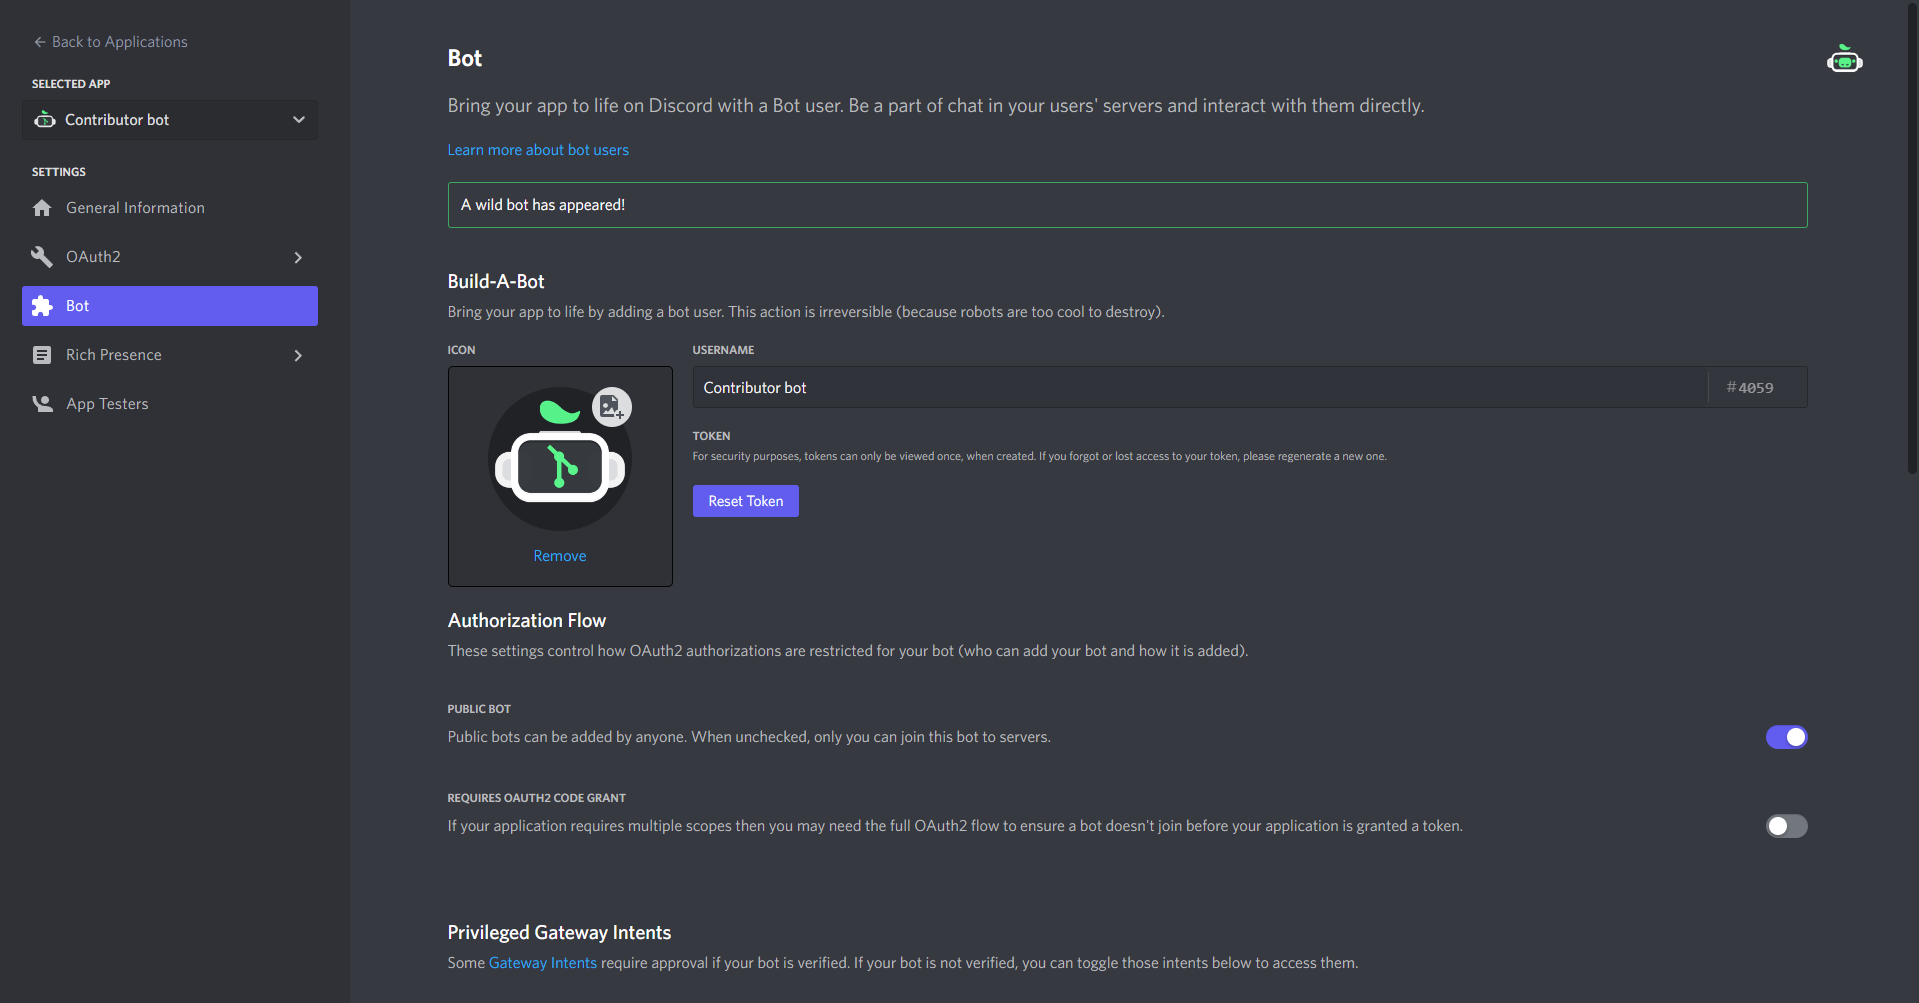
Click "Regenerate Token" and copy the token there. Compared to the Application ID and Public Key, the bot token is sensitive information. Keep this secret.
Danger
Never share your bot token with anybody else. They will be able to do anything with the bot - such as delete everything the bot has access to.
If your token is accidentally exposed, revisit this page and regenerate it similarly to how you just did.
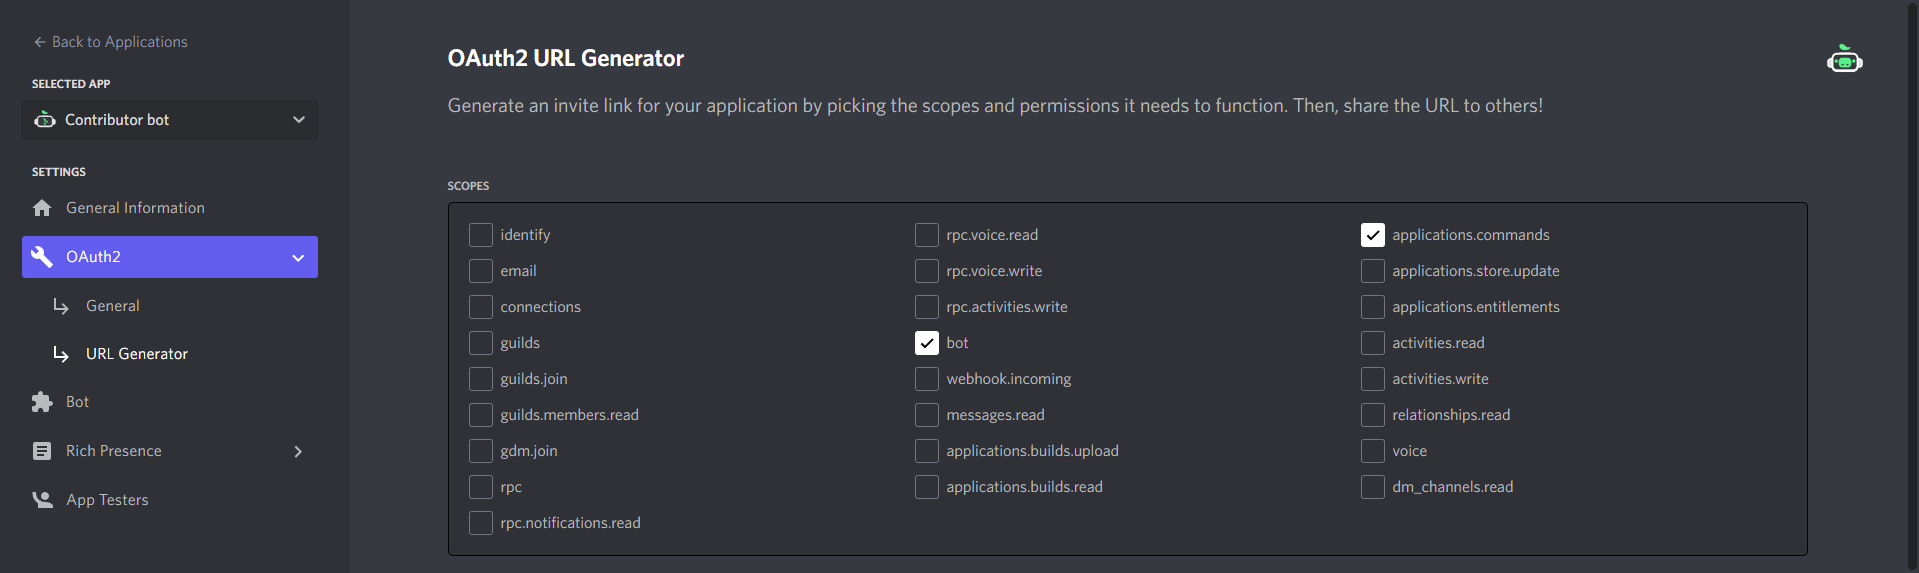
Inviting the created Bot
The very last step before being able to start coding is inviting the bot you
just created. Visit the OAuth2 tab's URL Generator and select bot as well as
applications.commands:
Now, copy this link and open it in your browser. You should get a prompt similar to the ones you get inviting any other bot:
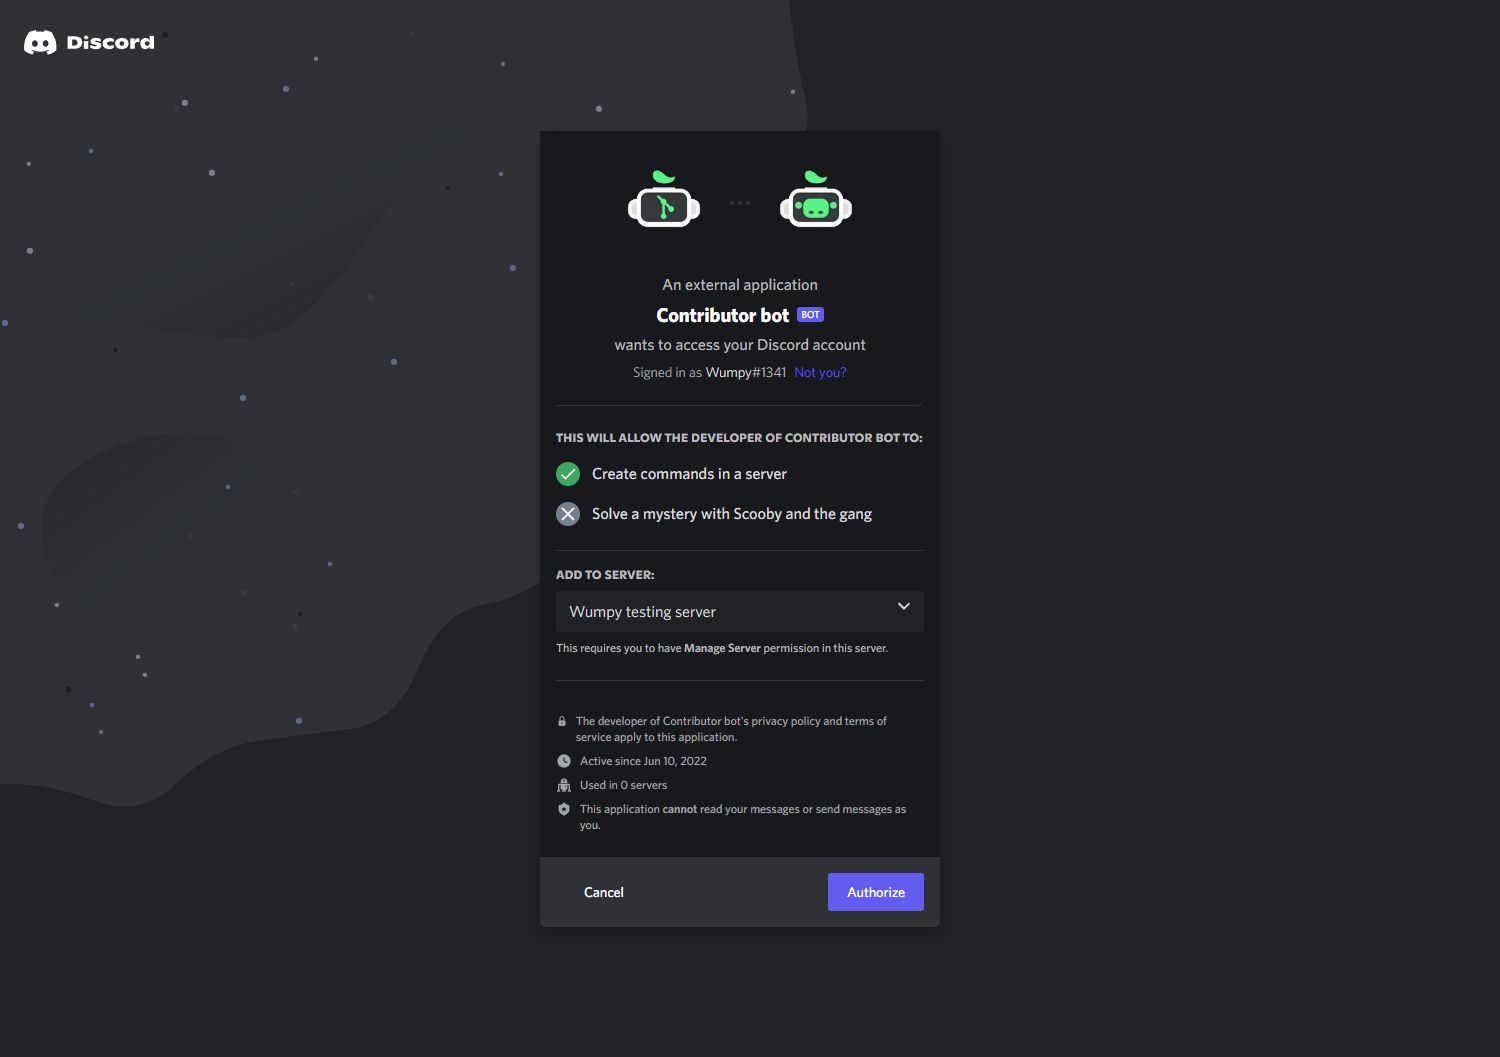
Finally select the server you want to add the bot to and click "Authorize":
Setting up in an IDE
After having created a Discord bot account it is time to setup your IDE. Start by visiting Replit and creating a new Python Repl. Paste in the following code to get started:
import os

import uvicorn
from wumpy.interactions import (
    InteractionApp, CommandInteraction, command_payload
)


app = InteractionApp(
    os.environ['APPLICATION_ID'], os.environ['PUBLIC_KEY']
    token=os.environ['TOKEN']
)


# When you follow the tutorial, this is where you should place the commands
# and other code: after 'app' has been defined, but before uvicorn.run
...


if __name__ == '__main__':
    uvicorn.run(app, host='0.0.0.0', lifespan='on')
Now, install the dependencies by running the following in the Shell (not the Console):
pip install uvicorn git+https://github.com/wumpyproject/wumpy.git
Before running the code, create secrets for the Application ID, Public Key,
and Token you saved from the Developer portal. They should be named
APPLICATION_ID, PUBLIC_KEY, and TOKEN respectively.
Setting an Interaction URL
You can now press Run which should open a browser above your console to the right. Copy the URL and go back to the Discord Developer Portal for your application. Paste it into the Interactions Endpoint URL to this URL and press "Save Changes".
Discord does not allow saving the Interactions Endpoint URL unless it successfully handles authorization. To test this it will send some sample requests with- and without correct headers, meanin that you will see some log output from Uvicorn.
You have now correctly setup a Discord bot account and IDE capable of hosting it! Continue to the next page of the tutorial to start creating commands.